Meet SmartCocoon: Smart Register Booster Fan
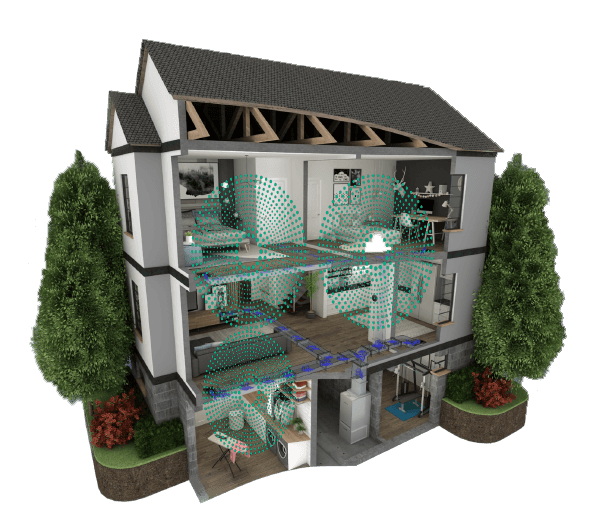
The first smart microzoning system for your home, optimizing airflow and HVAC performance while letting you control the temperature in every room!
Works With Any Thermostat
The beauty of SmartCocoon is that if you don’t have a smart thermostat, it instantly turns your system into one. Already have a smart thermostat? It makes it even smarter!
SmartCocoon booster fans are the only booster fans on the market fully integrated with Google Nest and Ecobee smart thermostats.
Google Nest
The fan automatically activates on heating and cooling following Nest signals.
Ecobee
The fan automatically activates on heating, cooling, and ventilation. If you don’t want the fan to run on ventilation, please reach out to us and we’ll disable it for you. Soon, you’ll be able to adjust this directly in the app.
Other Thermostats
If you have any other thermostat, the fan will learn your HVAC airflow patterns to turn on and off with heating and cooling.
- Please note that the fan won’t activate if there's no airflow.
- If the airflow is VERY weak, the fan might miss HVAC cycles due to minimal temperature changes in the ductwork, which can occasionally happen with heat pumps. In that case, please reach out to us so our team can customize your fan based on your HVAC performance.

Now Smarter than Ever
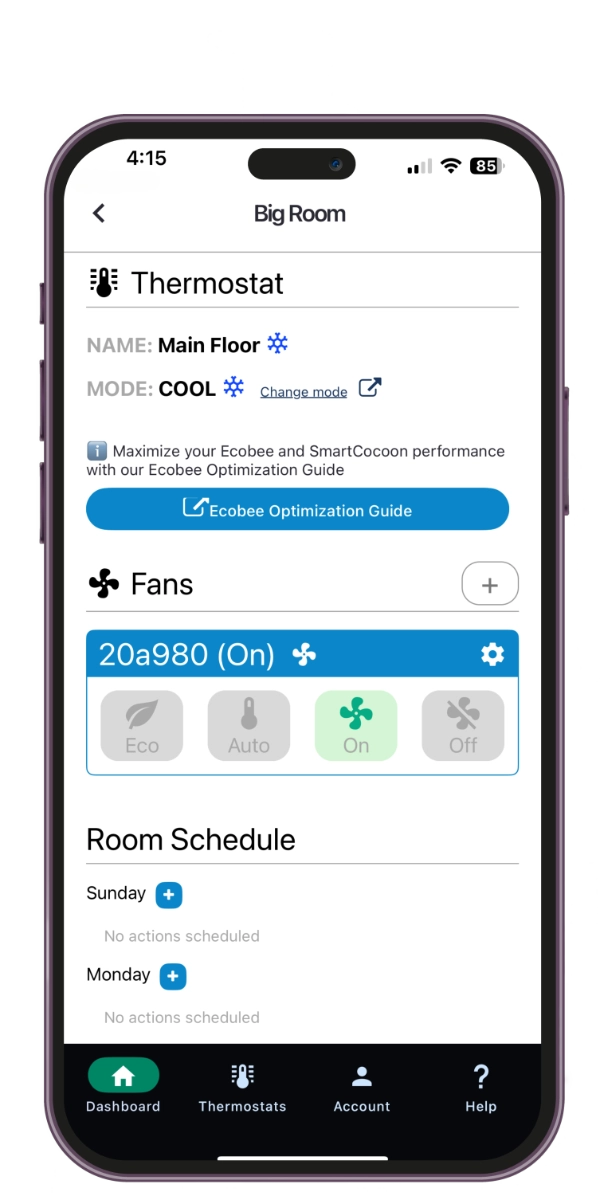
You can now control your smart fan using four modes: On, Off, Eco, and Auto.
On – The fan runs all the time, whether your main HVAC system is on or off.
Off – The fan stays off at all times.
Eco – The fan only runs when your main HVAC system is on, making it the most energy-efficient option.
Recommended if you don’t have the SmartCocoon temperature and humidity sensor.
Also recommended if you have a Google Nest or Ecobee smart thermostat.
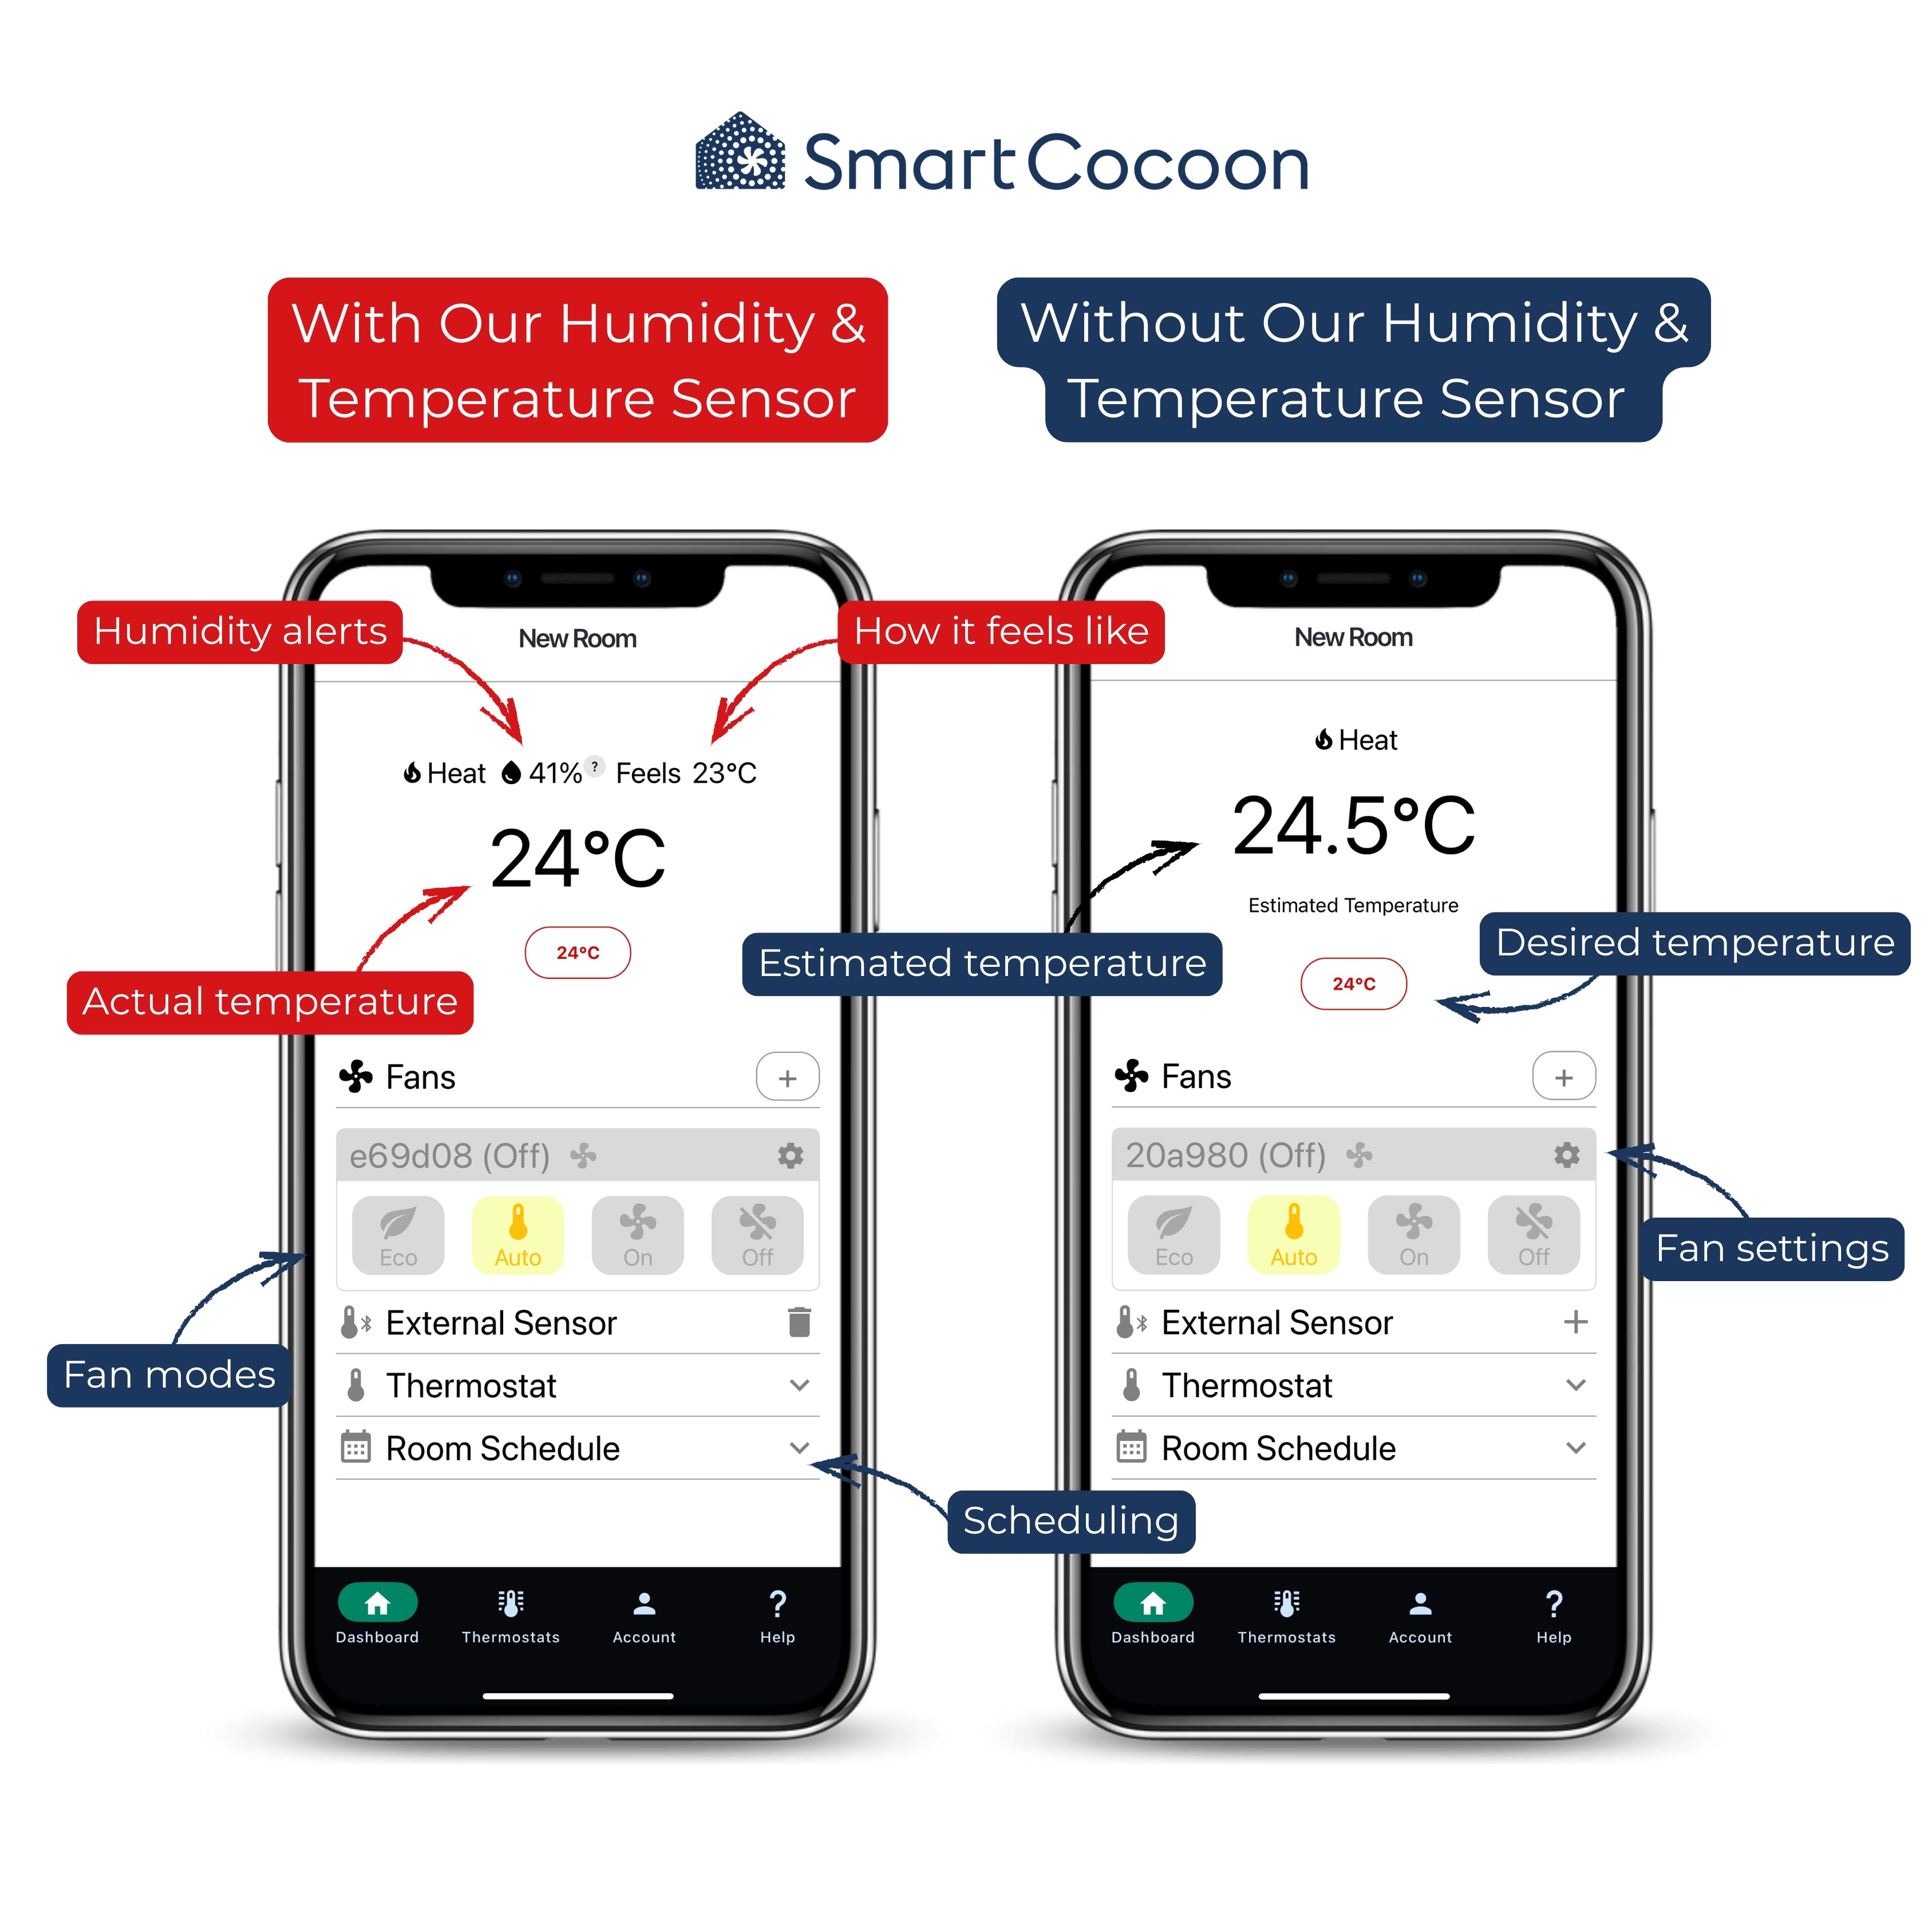
Auto – You can set your preferred temperature for each room. The fan runs only when the main HVAC system is on and the room temperature isn’t at your desired level.
Recommended if you have the SmartCocoon temperature and humidity sensor, as it provides the actual room temperature. You can also see how your room feels (Humidex) and view humidity alerts and recommendations.

SmartCocoon is a leading brand in home comfort innovation, and we’re committed to helping you feel your best at home. This sensor is more than just an add-on. It transforms your booster fan into a fully responsive, intelligent comfort system.

Take Full Control of Your Comfort
- Adjust Fan Speed: Control airflow directly from the app.
- Set Room-by-Room Temperatures: Customize the temperature in each room, year-round.
- Create Schedules: Set schedules for optimal comfort and energy savings.
- Control Fan Power: Switch the fan on or off whenever needed.


